
Challenge: Setting up Google Analytics in Wordpress

Note: Like the title suggests, this post is for Wordpress users. However, if you are on Squarespace, check out this post. If you have another site type let me know in the comments and I will make sure to add additional instructions for your website structure.
I want to reach out to all of those who haven’t dared to get GA set up on your site. I'm not finger pointing but today is the day to get this out of way. Why? Because something no one knows about when it comes to analytics is that you need a good chunk of data to actually get anything insightful.
If you are looking for specific help with set up and troubleshooting, check out my GA services here.
Are you ready for this challenge (it’s easier than you think, I promise)? Okay, let’s do it!
Step 1) Sign up to Google Analytics (google.com/analytics). If you don’t have a Google account, you will need to create one.

Step 2) You will come upon the “New Account” screen. Here you need to fill in a bit of information which I will guide you through:
You want to track a Website (if you are tracking a Mobile App, let me know and I can help you with that specifically).
Account Name: This might be your Company name.
Website Name: You might asking what the difference is between Account and Website. Inside each Account, you can track different Websites (or Properties as Google calls them). I know most of you have your hands full with just one website, but this might be helpful if you are creating a completely new website and want to start fresh. For now, you can put the name of your current website.
Website URL: pretty self explanatory. Make sure you select https:// if you have any secure areas of your website (a.k.a. a shopping cart).
Industry Category: Select the industry that best represents your business. Many times I use the “Other” Category.
Reporting Time Zone: This is the time zone that you will see your reporting in. It is important to keep in mind that if your clients are in a different time zone, some of your data analysis around when you are getting most engagement/conversions might be set in your time zone. Just be aware of any time differences for later analysis.
Data Sharing Settings: This section is completely up to you but keep in mind that with Google it’s a “I’ll show you mine if you show me yours” kind of policy. There are some interesting reports you won’t have access to if you decide not to enable some of these. Nonetheless, if you don’t feel comfortable, read through the Privacy Policy.
And click on “Get Tracking ID” (and then Accept the Terms and Services, obviously!)
Step 3) Now you will be transported to the Admin area of Google Analytics.
Freaky! But all I want you to do here is grab your Tracking ID, which will look something like this:

Keep this number handy for the following steps.
Step 4) Go to your Wordpress Account, to Plugins > Add New. Search "Google Analytics" in the search bar.

Step 5) Select the plugin you like best. I personally use Google Analyticator but all of these are stable.
Make sure to check the compatibility with your version of Wordpress. The rest of this post will show you how to install Google Analyticator specifically but most of the plugins have similar instructions and clear documentation once you've install (some even have videos!). If you are having issues with any plugin, just comment below and I’ll help out!
Step 6) Continuing with the Google Analyticator plugin, make sure to "Activate" the plugin. Once you see the pluging in Plugins > Installed Plugins, go to “Settings”.

Step 7) Enable the plugin and then you will be asked to authenticate.
There are two ways to do this: by logging into your Google Account or by using the Tracking ID we saved earlier.

Don’t worry about the rest of the configuration settings for now but I recommend going through them eventually just to understand all the options available.
Step 8) Last step! Yay, you are almost there! The final step is to make sure that everything is working correctly.
To do this, download a browser extension to check you are capturing data. Depending your browser you will have different options (Chrome Web Store and Firefox Add Ons). I personally use the Page Analytics (by Google) in Chrome.
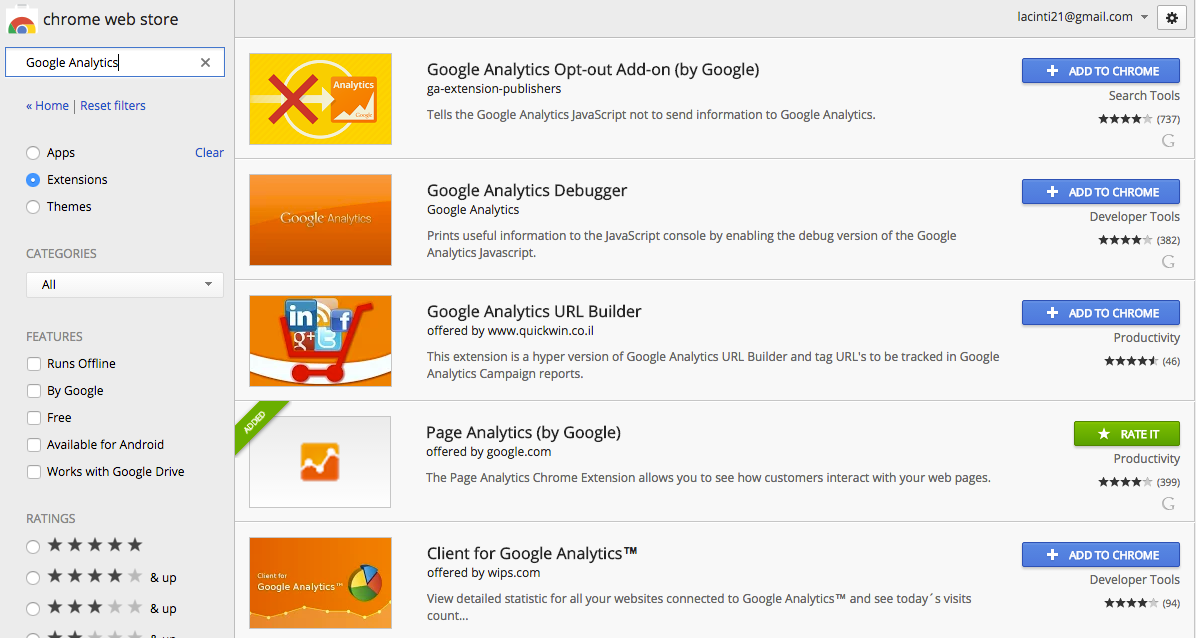
Once you've installed the extension, turn it on and browser to your site. You should see metric boxes come up but don't freak out if you don't see any data yet. The most important is to make sure you see "Real-Time" visitors. If you don't see anything in the extension, let me know in the comments and I'll help you troubleshoot.

That’s it! It wasn’t that painful, was it?
Want to get more Google Analytics and SEO resources? Sign up for my newsletter below where I send weekly podcasts/blog posts/courses for you to keep learning how to use your data actively.